Welcome!
Here we are at the Quick Start Guide for Xerox Altalinks.
If you think you missed a few, click here to be taken back to the directory listing.
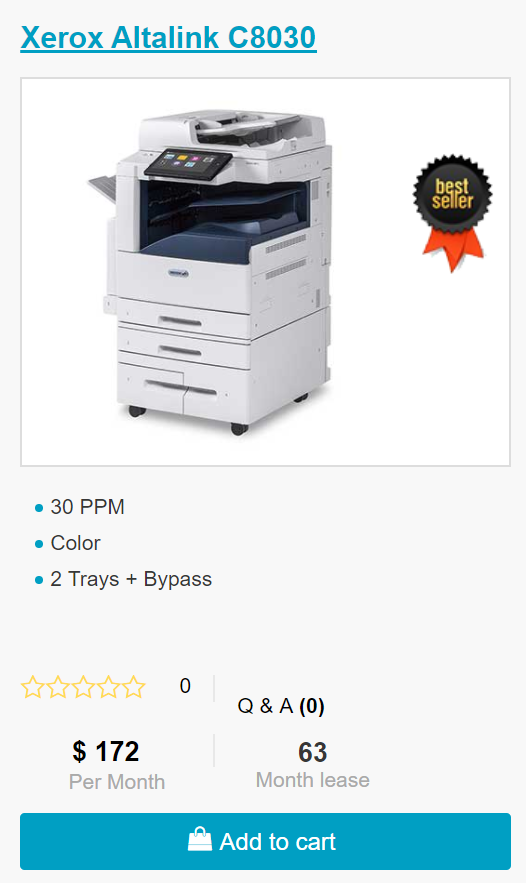
If you are looking to lease a new unit, click here to be taken to our selector tool to help you choose the right model.
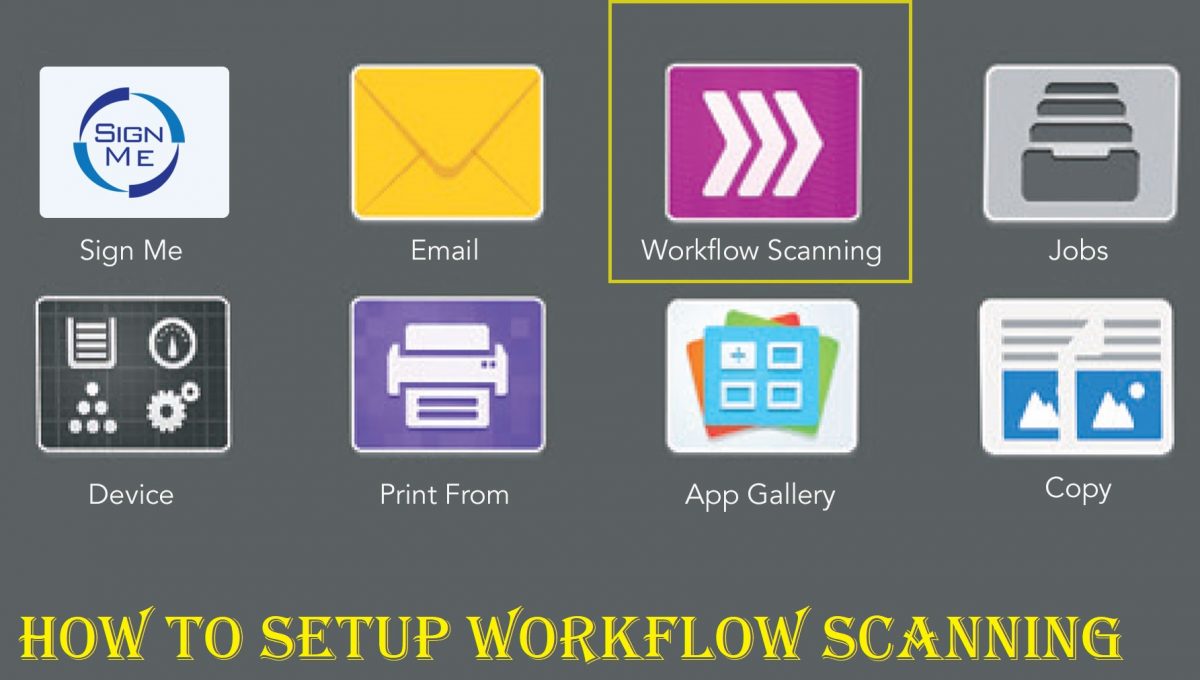
This article is taken directly from a Xerox Support Technician on how to setup WorkFlow Scanning on a Xerox Altalink.
Solution : Configure Workflow Scanning File Repository Settings
A file repository is a network location where scanned images are stored. Configure the file repository settings before you create a workflow.
Your device supports the following transfer protocols:
– FTP
– SFTP
– SMB
– HTTP/HTTPS
Note: HTTP/HTTPS scans to a Web server using a CGI script.
FTP or SFTP:
Before you begin:
– Ensure that FTP or SFTP services are running on the server or computer being used to store scanned image files. Note the IP address or host name.
– Create a user account and password with read and write access for the printer to use to access the repository folder. Note the user name and password.
– Create a folder within the FTP or SFTP root. Note the directory path, user name, and password. This folder is your file repository.
– Test the connection. Log in to the file repository from a computer with the user name and password. Create a folder in the directory, then delete it. If you cannot create and delete the folder, check the user account access rights.
Note: Only configure the file repository for the transfer protocol (FTP/sFTP, SMB, HTTP/HTTPs) you will be using.
To configure file repository settings for FTP or SFTP:
– Access the Embedded Web Server and login as System Administrator. See the Related Content section for additional information.
– In the Embedded Web Server, click Properties > Apps.
– Click Workflow Scanning > File Repository Setup.
– Click Add New.
– In the Friendly Name field, type a name for the repository.
– For Default Repository Protocol, click the arrow, then select FTP or SFTP.
– Select the address type. Options for FTP include IPv4, IPv6, or Host Name. Options for SFTP include IPv4, or Host Name.
– Type the appropriately formatted address and port number of your server.
– For Default Repository Document Path, type the directory path of the folder beginning at the root of FTP or SFTP services. For example, //directoryname/foldername.
– If you want the printer to create .XSM subfolders for single page format files, select Sub-folder (.XSM) for 1 File Per Page, File Format jobs.
– For Default Repository Login Credentials, select an option:
– Authenticated User and Domain: This option instructs the device to use the user name and domain of the logged-in user when the device accesses the repository.
– Logged in User: This option instructs the device to log in to the repository with the credentials of the logged-in user.
– Prompt at device control panel: This option instructs the device to prompt users at the control panel for the repository credentials.
– Device: This option instructs the device to use specific credentials when it accesses the repository.
– For Login Name and Password, type the credentials.
– To update an existing password, select Select to save new password.
– Click Save.
– Logout of System Administrator mode. See the Related Content section for additional information.
SMB:
Before you begin:
– Ensure that SMB services are running on the server or computer where you want to store scanned image files. Note the IP address or host name.
– On the SMB server, create a shared folder. This folder is your file repository. Note the directory path, Share Name of the folder, and the Computer Name or Server Name.
– Create a user account and password with read and write access for the printer to use to access the repository folder. Note the user name and password.
– Test the connection by logging in to the file repository from a computer with the user name and password. Create a folder in the directory, then delete it. If you cannot do this test, check the user account access rights.
To configure file repository settings for SMB:
– Access the Embedded Web Server and login as System Administrator. See the Related Content section for additional information.
– In the Embedded Web Server, click Properties > Apps.
– Click Workflow Scanning > File Repository Setup.
– Click Add New.
– In the Friendly Name field, type a name for the repository.
– For Default Repository Protocol, click the arrow, then select SMB.
– Select the address type. Options are IPv4 or Host Name.
– Type the appropriately formatted address and port number of your server.
– In the Share field, type the share name.
– For Default Repository Document Path, type the directory path of the folder starting at the root of the shared folder. For example, if you have a folder named scans in the shared folder, type \scans.
– If you want the printer to create .XSM subfolders for single-page-format files, select Sub-folder (.XSM) for 1 File Per Page, File Format jobs.
– For Default Repository Login Credentials, select an option:
– Authenticated User and Domain: This option instructs the device to use the user name and domain of the logged-in user when it accesses the repository.
– Logged in User: This option instructs the device to log in to the repository with the credentials of the logged-in user.
– Prompt at device control panel: This option instructs the device to prompt users at the control panel for the repository credentials.
– Device: This option instructs the device to use specific credentials when it accesses the repository.
– For Login Name and Password, type the credentials.
– To update an existing password, select Select to save new password.
– Click Save.
– Logout of System Administrator mode. See the Related Content section for additional information.
HTTP/HTTPS:
Before you begin:
– Enable HTTP or Secure HTTP (SSL). Ensure that a certificate is installed on the printer if you are using SSL.
– Configure your Web server, and ensure that HTTP/HTTPS services are running. POST requests and scanned data are sent to the server and processed by a CGI script. Note the IP address or host name of the Web server.
– Create a user account and password for the printer on the Web server. Note the user name and password.
– Create a /home directory for the printer.
– Create a /bin directory in the home directory.
– Copy an executable CGI script into the /bin directory. You can create your own script, or download a sample script. For details, see CGI Scripts. Note the path to the script. The script can be defined with script_name.extension or by path/script_name.extension.
– Create a folder with read and write permissions on the Web server, or alternate server. Note the directory path, user name, and password. This folder is your file repository.
– Test the connection by logging in to the home directory of the printer on the Web server. Send a POST request and file to the Web server. Check to see if the file is in the repository.
CGI Scripts
A CGI (Common Gateway Interface) script is a program on a Web server that is executed when the server receives a request from a browser. A CGI script is required to allow files to be transferred to your HTTP server from your printer.
When a document is scanned, the printer logs in to the Web server, sends a POST request along with the scanned file, then logs out. The CGI script handles the remaining details of file transfer.
To download a sample CGI script:
– Access the Embedded Web Server and login as System Administrator. See the Related Content section for additional information.
– In the Embedded Web Server, click Properties > Apps.
– Click Workflow Scanning > File Repository Setup.
– Click Add New.
– For Default Repository Protocol, select HTTP or HTTPS.
– For Script path and filename, click Get Example Scripts.
– Select a script language supported by your Web server. Right-click and save the appropriate .zip or .tgz file to your computer.
– Extract the downloaded file to the root of the Web services home directory.
Configure File Repository Settings for HTTP/HTTPS:
– Access the Embedded Web Server and login as System Administrator. See the Related Content section for additional information.
– In the Embedded Web Server, click Properties > Apps > Workflow Scanning > File Repository Setup.
– Click Add New.
– In the Settings area, configure the following items:
– For Friendly Name, type a name for the repository.
– For Default Repository Protocol, select HTTP or HTTPS, then select an address type. Options are IPv4 Address, IPv6 Address, or Host Name.
– For Default Repository Server, type the appropriately formatted address and port number of your server.
– To validate the SSL certificate used for HTTPS, select Validate Repository Certificate.
Note: To verify that a digital certificate is installed on the device, click View Root/Intermediate Trusted Certificates.
– For Script path and filename, type the path to the CGI script, starting at the root. For example: /directoryname/foldername. To download working example scripts, click Get Example Scripts.
– For Default Repository Document Path, type the directory path of the folder. For Web server directories, type the path, starting at the root. For example, //directoryname/foldername.
– If you want the device to create .XSM subfolders for single-page-format files, select Sub-folder (.XSM) for 1 File Per Page, File Format jobs.
– For Default Repository Login Credentials, select an option:
– Authenticated User and Domain: This option instructs the device to use the user name and domain of the logged-in user when it accesses the repository.
– Logged in User: This option instructs the device to log in to the repository with the credentials of the logged-in user.
– Prompt at device control panel: This option instructs the device to prompt users at the control panel for the repository credentials.
– Device: This option instructs the device to use specific credentials when it accesses the repository. If you select Device, type the credentials in the Login Name and Password fields. To update an existing password, select Select to save new password.
– None: This option instructs the device to access the repository without providing credentials.
– To update an existing password, select Select to save new password.
– Click Save.
– Logout of System Administrator mode. See the Related Content section for additional information.
This is one of our helpful guides we have created for our series, “How To: Altalink”. Looking for more great how to’s, click here to be taken back to the directory listing.
Looking for a new Xerox?
ABOUT USA Copier Lease
USA Copier Lease is an exclusive Xerox dealer and our clients are across the United States.
We can service and support your Xerox devices anywhere in the United States with a guaranteed same day / next day on-site service guarantee.
In addition, to learn more about how USA Copier Lease can help your organization assess your existing copier leases or provide a quote for new copier, call (800) 893 1183 or send an email to online@usamagnum.com
If you have read this far and are an IT organization looking for a Xerox Partner to pass referrals to, Contact us. We provide great incentives for copier referrals past.
 Call Us: 800.893.1183
  Email: online@usamagnum.com
 My Account
 Login
Login Register