How to setup Scan to Email with Gmail on Xerox Altalink
Welcome!
Scan to Email – Altalink Style Quick Start Guide for Xerox Altalinks.
If you think you missed a few, click here to be taken back to the directory listing.
If you are looking to lease a new unit, click here to be taken to our selector tool to help you choose the right model.
There is a lot of information out there on how to setup scan to email using GMAIL on your Xerox Altalink Device. We setup scan to email with a Xerox Altalink about once a week. There are different steps needed depending on your email provider. We have found that one of the easiest and fastest ways to configure Scan to Email on a Xerox Altalink, is by using GMAIL as the sender.
Below are the steps you should follow if having issues setting up scan to email on a Xerox Altalink.
**VERY IMPORTANT FIRST STEP**
Log into your Gmail account as the administrator and Allow for less secure apps.
Link on how to change account access for less secure apps.
1. Login to Centreware Control Panel
(Using the IP address of the Xerox, type it in a web browser)
as the Administrator
(Default Username: Admin | Default Password: 1111).
2. Click on the [Properties] tab.
3. Enter the login name in the User ID field, and the password in the Password field.
NOTE: The default login name is “admin”, and the default password is “1111″.
4. Click on the [Login] button. The Configuration Overview window will be displayed.
5. Click on [Connectivity] to expand the list of options.
6. Click on [Protocols] to expand the list.
7. Click on [SMTP Server]. The Require Information tab will be displayed.
8. Select the [Static] radio button next to SMTP Server Setup.
9. Enter smtp.Gmail.com in the SMTP Server IP Address / Host Name field.
10. Enter 587 or 465 for a Port in the Port Number for sending E-mail / Internet fax.
NOTE: Port 587 should be used by default and if there are any issues use Port 465. If any failed reports indicating connection issues, these ports may need to be verified that they are not being blocked on the network.
11. From the SMTP – SSL / TLS Communication pull-down, select [SSL / TLS] from the list.
12. Enter the Gmail e-mail address in the Machine’s E-mail Address field. The format should be the full e-mail address such as username@gmail.com.
13. Enter the full e-mail address in the Login Name field.
14. Enter the password for the Gmail account in the fields provided.
15. Select the [System] radio button under the Login Credentials for E-mail Send section.
16. Click the [Apply] button.
The above steps should work for you to configure your Xerox Altalink Scan to Email features, using GMAIL as your mail sender.
You will then need to go into the address book and add the email addresses for each person that will needs scan to email.
**NOTE**
If you are having issues, under the connectivity settings of the IPv4 address there is a field labeled “Domain”. There needs to be something in this blank. I suggest using the domain.com of the company – example : gmail.com.
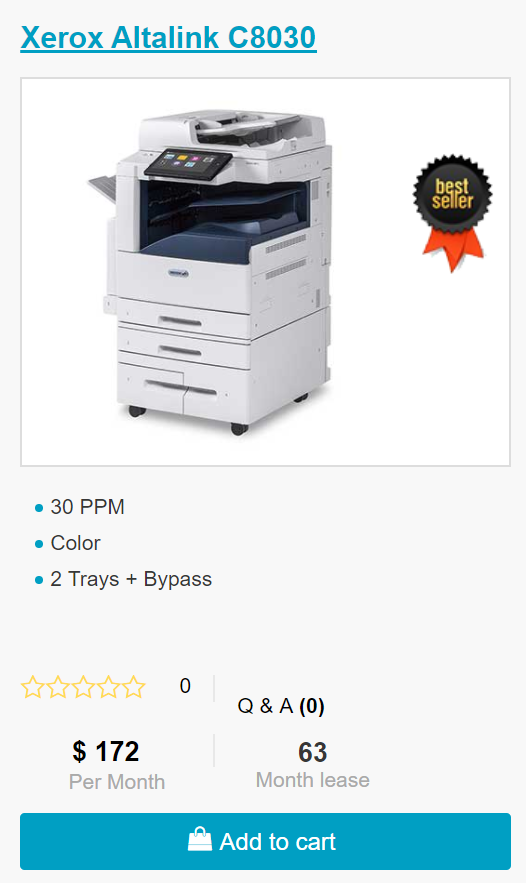
*The above setup was completed using a Xerox Altalink C8035, click here for more detail on the Altalink C8035
This is one of our helpful guides we have created for our series, “How To: Altalink”. Looking for more great how to’s, click here to be taken back to the directory listing.
Looking for a new Xerox?
We have C8030/35/45/55/70 with every configuration you could want. Contact us!
ABOUT USA Copier Lease
USA Copier Lease is an exclusive Xerox dealer and our clients are across the United States.
We can service and support your Xerox devices anywhere in the United States with a guaranteed same day / next day on-site service guarantee.
In addition, to learn more about how USA Copier Lease can help your organization assess your existing copier leases or provide a quote for new copier, call (800) 893 1183 or send an email to online@usamagnum.com
If you have read this far and are an IT organization looking for a Xerox Partner to pass referrals to, Contact us. We provide great incentives for copier referrals past.
 Call Us: 800.893.1183
  Email: online@usamagnum.com
 My Account
 Login
Login Register


This helped out a lot!